With the unique AMAZD Widget you show your customers the innovative e-commerce approach of your company.
The integration of the widget happens completely effortlessly with the Google Tag Manager in your store.
Once integrated, the technology updates automatically. Moreover, you can change the displayed face of the expert to look even more personal.
1. Go to the administration of your Google Tag Manager account and create a new tag.
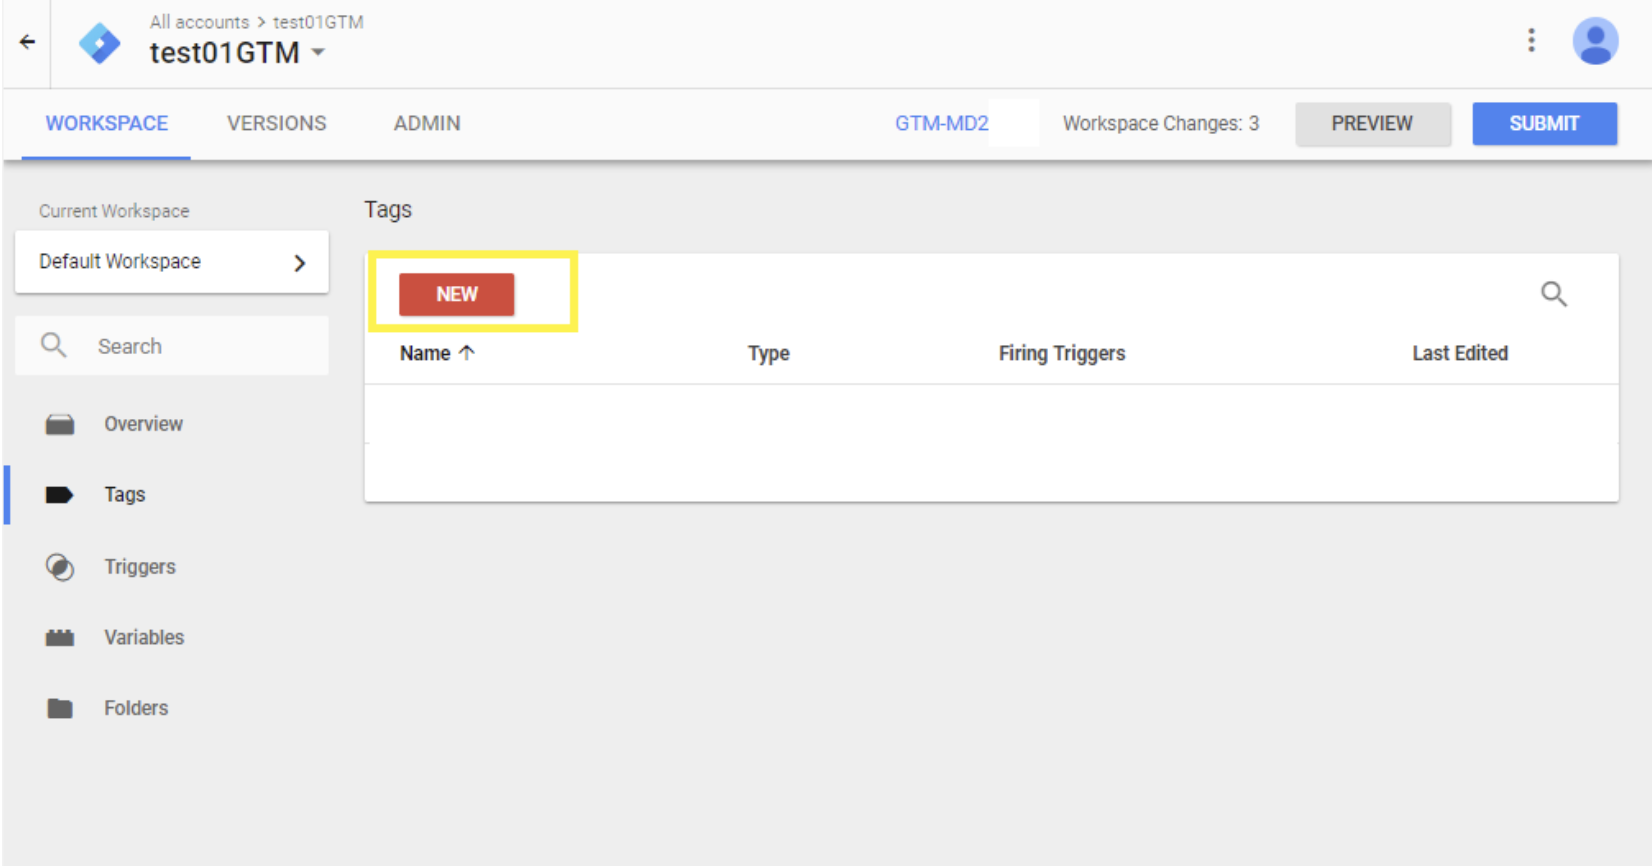
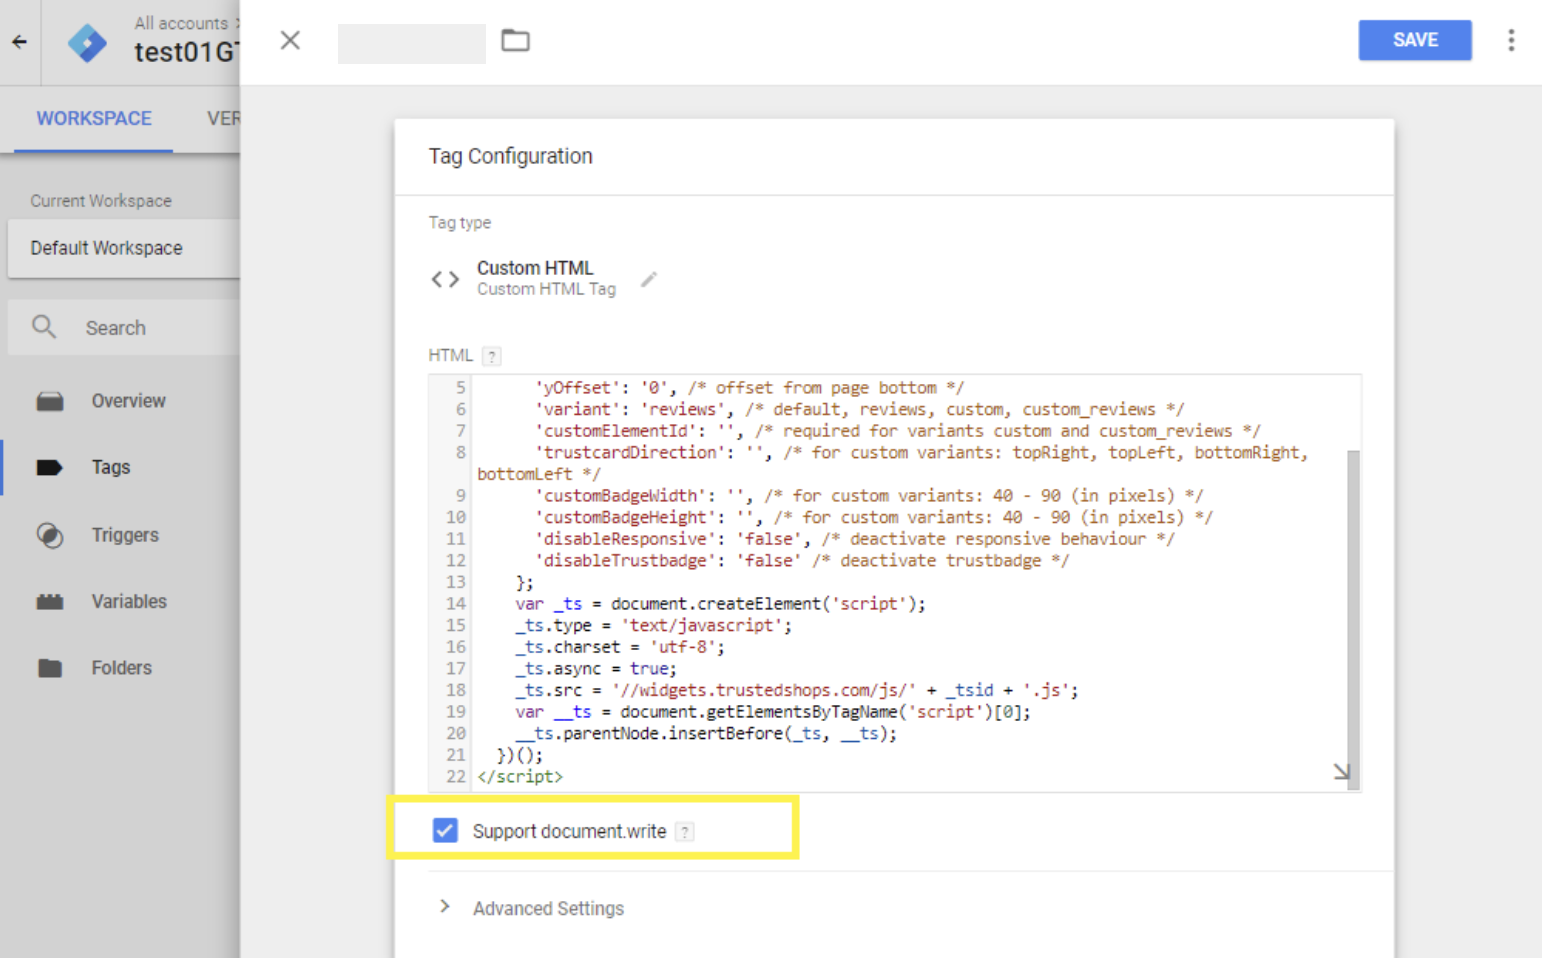
2. Choose the "Custom HTML Tag".

3. Copy the AMAZD HTML snippet and paste it into the "HTML" field. After that, activate the "'document.write' support" checkbox below it.
4. Next, you can define the pages of your store on which the AMAZD widget should be displayed. Select the button "All pages" and then "Create tag".

HINT: Do not simply display the widget on all pages. Optimal here is a mix of certain catalog pages, home page, landing pages and possibly blog pages. Look into the implementation strategies in the documentation in order to find out what strategy suits you the best.
If the widget does not appear correctly, even though the snippet is correctly installed, it might due to the page cache of your browser. Try a different device, browser or the incognito mode of the exact browser.
5. Save the tag.
6. Publish the tag to your website.

.png)


